


How To Repair A Stump Grinder Oil Leak
- Rated as REALLY EASY
- 5 step by step videos
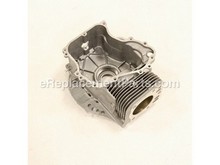
Crankcase
If your engine is leaking oil, the crankcase may be overfilled. Use a dipstick to check the level of oil in the crankcase. If it is too high, the engine will have to be drained of oil and refilled. It is important to always keep a close eye on the level of oil in your engine, as having too much or not enough oil can cause serious problems and possibly damage during the engines operation.
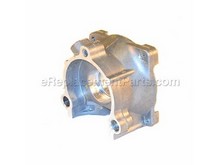
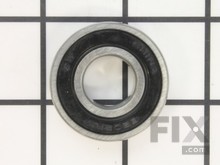
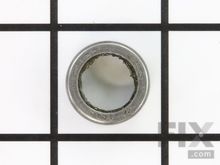
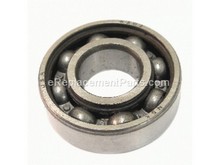
Crankshaft Bearing Seals
If oil is leaking out, it is likely that the bearing seal is broken. Crankcase seals are usually installed from the outside of the engine. The seal on the output shaft side of the engine should be easily accessible. The seal on the flywheel side of the engine will be a little more complicated. You will need to remove the starter and blower housing. You will then need to remove the flywheel. The flywheel is held in place with a nut and a tapered shaft. Once the nut is removed the flywheel should be removed using a flywheel puller. The seals themselves are removed by puncturing them with a seal removal tool and then carefully prying them out. The oil should be drained from the engine before removing the seals so it doesn’t leak out when the seal is removed. This is a fairly common repair on a well used engine.
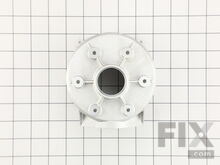
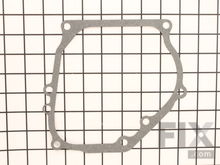
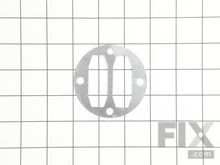
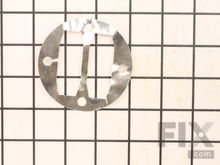
Crankcase Gasket
Your stump grinder may be leaking oil due to an issue with the crankcase gasket. The crankcase gasket seals the crankcase cover to the crankcase housing itself. The gasket covers a fairly large area, and is prone to wear over a long period of time. If oil is escaping the crankcase from along the seam of the cover, it is likely that this gasket is worn and leaking. To replace the gasket, remove the cover and clean away any traces of the old gasket. This may require scraping pieces gasket off with a gasket scraper, or scrubbing along the seam to ensure that the new gasket will make a tight seal that will last.

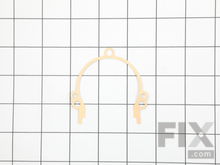
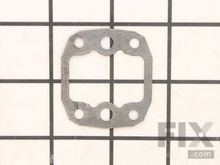
Valve Gasket
Similar the crankcase gasket, the head gasket seals the connection between the valve cover and valve housing. These valves control the flow of fuel and exhaust into and out of the engine. If oil is leaking from the connection between the valve cover and housing, it is likely that the gasket is worn and leaking. To replace a worn gasket, remove the cover and clean away all signs of the old gasket on both the cover and housing. Place the new gasket on the connection and reattach the cover, ensuring that the gasket stays in place and a tight seal is achieved. Refer to your user manual for the proper replacement part number when purchasing a new gasket.
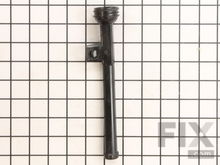
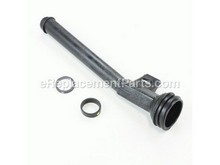
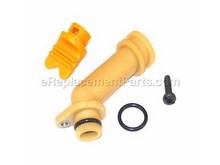
Oil Fill Seal or Tube
If oil is leaking from the oil fill cap, seal or tube, the seal on one or more of these parts is likely broken. You can determine the exact source of the leak by wiping away any oil and watching to see where it reappears. If oil is leaking from the oil fill cap or surrounding area, it is likely that the oil fill seal is broken and needs to be replaced. This rubber seal sits around the oil fill cap and stops any oil from escaping the crankcase at the point where it came in. If oil is leaking from the fill tube itself (below the cap), the tube may be loose or cracked. Both of these parts can be easily replaced once the issue is diagnosed. Refer to your user manual for replacement part numbers should any new components be required.
More Repair Parts
Still not sure which part is broken? We can offer you custom troubleshooting help if you search with your model number.