Some of the parts we sell are eligible for mail-in rebates since we can recycle them. We will display any applicable rebates in your shopping cart. To redeem your rebate, contact Customer Service after you have received your part.
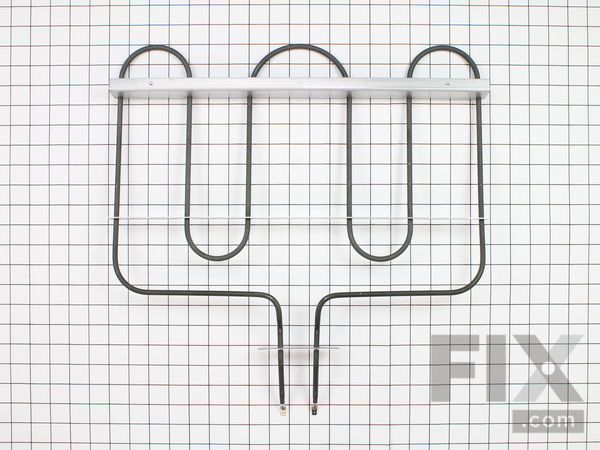
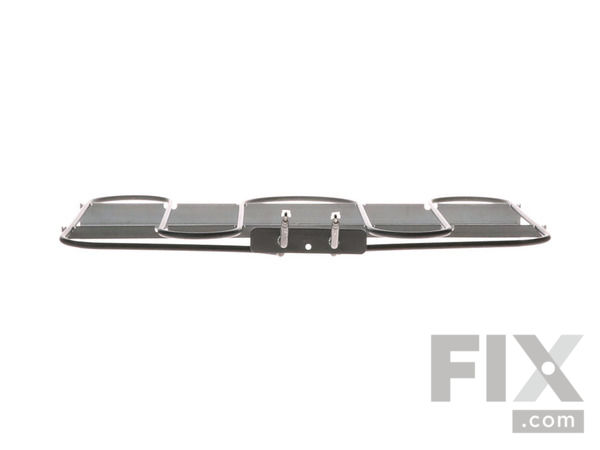
Bake Element - 3600W
$141.55
In Stock
- Fix Number:
- FIX11751723
- Manufacturer #:
- WPW10276482
- Manufactured by:
- Whirlpool
- Product Description
- This bake element is found on the bottom of the oven. This bake element is for ranges. The bake element is at the bottom of the oven and supplies the heat for baking. Unplug the range or shut off the house circuit breaker before installing the part
- Works with the following brands:
- Maytag, Amana, KitchenAid, Jenn-Air
- Works with the following products
- Range
- Fixes the following symptoms
- Little to no heat when baking, Element will not heat, Oven not heating evenly
- Part# WPW10276482 replaces these:
- AP6018421, 74008693, 74011117, 7406P451-60, W10144689, W10276482
Part Number Cross Reference
Product Description
This bake element is found on the bottom of the oven. This bake element is for ranges. The bake element is at the bottom of the oven and supplies the heat for baking. Unplug the range or shut off the house circuit breaker before installing the part
-
Works with the following brands:Maytag, Amana, KitchenAid, Jenn-Air
-
Works with the following products:Range
-
Fixes the following symptoms:Little to no heat when baking, Element will not heat, Oven not heating evenly
-
Part# WPW10276482 replaces these:AP6018421, 74008693, 74011117, 7406P451-60, W10144689, W10276482
Videos For installing this part.
Replacing your Bake Element - 3600W

Questions and Answers
We're sorry, but our Q&A experts are temporarily unavailable.
Please check back later if you still haven't found the answer you need.
Installation Instructions Provided by Fix customers like you.
- < Prev
- 1
- Next >
Sort by:
Search filter:
Clear Filter
Your search term must have 3 or more characters.
Keep searches simple. Use keywords, e.g. "leaking", "pump", "broken" or "fit".
Sorry, we couldn't find any existing installation instruction that matched.
- Customer:
- Hugh from Grand Rapids, MI
- Parts Used:
- WPW10276482
- Difficulty Level:
- A Bit Difficult
- Total Repair Time:
- 30 - 60 mins
- Tools:
- Nutdriver, Pliers, Screw drivers
Oven would not reach desired temperature
I followed all the steps outlined in the video provided by this site. However when it was time to fasten the element bracket to the base of the oven, not the back, I had to force the element toward the back of the compartment so the holes in the element bracket would line up with the holes in the base of the oven. I was hesitate to do t
... Read more
his but Customer Service assured me I had the right replacement part. I have a feeling the bends in the element resulted in a radius that was too great causing the bracket to be about .75" too far forward. Otherwise the installation was not too difficult. I would suggest anyone trying to keep the wire/connector from receding from the compartment to us forceps to hold them while you connect the element to the wires. The folks were very helpful through the process and we saved about $150 to $200 on the repair.
Read less
4 of 4 people
found this instruction helpful.
Was this instruction helpful to you?
Thank you for voting!
- Customer:
- James from Parkville, MO
- Parts Used:
- WPW10276482
- Difficulty Level:
- Really Easy
- Total Repair Time:
- 15 - 30 mins
- Tools:
- Pliers, Screw drivers
Oven not heating above 200 degrees
Removed power plug from oven; took racks out of oven, removed two screws in back of oven to remove panel that covers the bake element, removed the 3 screws from the baking element and carefully pulled element out of back to ensure I did not disconnect the connections on the bake element. Disconnected the 2 clips from the baking oven with
... Read more
needle nose pliers, took new element reconnected clips on to the new element carefully pushing back through the insulation and replacing the 3 screws for the element then putting the element cover back in oven and inserting the 2 screws. Plugged oven back in and tested element.
Read less
2 of 2 people
found this instruction helpful.
Was this instruction helpful to you?
Thank you for voting!
- Customer:
- Becky from LAKEWOOD, CO
- Parts Used:
- WPW10276482
- Difficulty Level:
- Really Easy
- Total Repair Time:
- 15 - 30 mins
- Tools:
- Pliers
The heating element in the oven went out.
Step 1 Discontent electricity
Step2. Remove screws in bottom. Remove the oven floor.
Check the heating element. Pull toward you carefully. Remove the clamps make sure the wire doesn't slide back in the hole. Replace old with new unit make sure clamps are fully on. Push back into place, put oven floor back in pla ... Read more ce.
Reconnect electricity
Test oven temperature
Read less
1 person
found this instruction helpful.
Was this instruction helpful to you?
Thank you for voting!
- Customer:
- Sharon from Manhattan, KS
- Parts Used:
- WPW10276482
- Difficulty Level:
- Really Easy
- Total Repair Time:
- 30 - 60 mins
- Tools:
- Screw drivers
bake element shorted out.
removed two screws in the bottom of the oven to remove cover over the element and the three screws that hold the element in place pulled the element out far enough to unplug the two wires.
1 person
found this instruction helpful.
Was this instruction helpful to you?
Thank you for voting!
- Customer:
- Gary from Sun Prairie, WI
- Parts Used:
- WPW10276482
- Difficulty Level:
- Really Easy
- Total Repair Time:
- 15 - 30 mins
- Tools:
- Pliers, Screw drivers
I heard the lower element "sizzle out" since there was no heat it was obvious the problem
I followed the YouTube video that came with the confirmation email. It was simple. I took a little extra time and pulled out the range an cleaned around it. It took about a half an hour total. If you just do the element it would take 10-15 minutes
1 person
found this instruction helpful.
Was this instruction helpful to you?
Thank you for voting!
- Customer:
- Dennis from Hemet, CA
- Parts Used:
- WPW10276482
- Difficulty Level:
- Really Easy
- Total Repair Time:
- 15 - 30 mins
- Tools:
- Pliers, Screw drivers
Oven clicking to warm up, but wouldnt get hot
Watched the video, opened the bottom of the oven (about 3 screws) and could see that the "bake element" was literally "fried"--It broke up, into pieces, upon touching it...No wonder it wasn't working...We ordered the part from this site, and then, once the part arrived, we watched the video again, and installed the "bake element"--like ma
... Read more
gic. Thanks to this site--amazing really, to do your own repair....We were so proud of ourselves, and with your help, we did it. We (my wife and I ) recommend strongly that you all use this company for your parts and info on how to DIY....Dennis
Read less
1 person
found this instruction helpful.
Was this instruction helpful to you?
Thank you for voting!
- Customer:
- Christy from Berryton, KS
- Parts Used:
- WPW10276482
- Difficulty Level:
- Easy
- Total Repair Time:
- 15 - 30 mins
- Tools:
- Nutdriver, Pliers, Screw drivers
Oven would not heat up past 195 degrees.
We followed the video instructions on the Maytag website. So easy, the hardest part was propping up the flashlight to get enough light in he oven.
1 person
found this instruction helpful.
Was this instruction helpful to you?
Thank you for voting!
- < Prev
- 1
- Next >
Model Compatibility
This part works with the following models:
Fix Number: FIX11751723
Manufacturer Part Number: WPW10276482
Manufacturer Part Number: WPW10276482
Brand
Model Number
Description
✖
Mail-In Recycling Rebate


