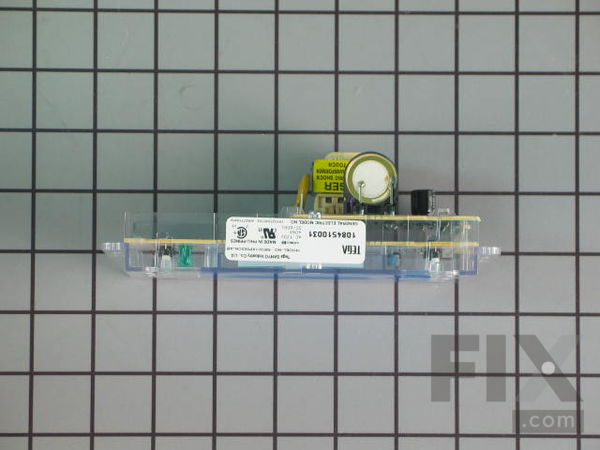
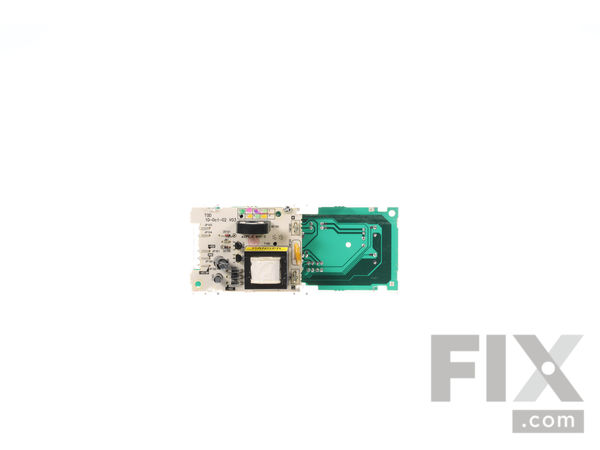
Part Location Diagram of WB27T10469 GE Oven Electronic Control Board
See part 105 in the diagram
Replacing your General Electric Range Oven Electronic Control Board
( Grid squares measure 1x1 inch )

Oven Electronic Control Board

Rated by 3 customers 

?

Really Easy 

15 - 30 mins 

Ratings submitted by customers like you who bought this part.

?
$141.38
In Stock
Fix Number:
FIX783551
Manufacturer #:
WB27T10469
Manufactured by:
GE

Product Description

Overlay must be ordered separately.

Videos For installing this part.

Replacing your Oven Electronic Control Board

Replacing your Oven Electronic Control Board

Questions and Answers

We're sorry, but our Q&A experts are temporarily unavailable.
Please check back later if you still haven't found the answer you need.

Installation Instructions Provided by Fix customers like you.

Average Repair Rating: 4.2 / 5.0, 3 reviews.
  • 1
Sort by:
Sorry, we couldn't find any existing installation instruction that matched.
Customer:
Thomas from Milford, CT
Parts Used:
WB27T10469
Difficulty Level:
Really Easy
Total Repair Time:
15 - 30 mins
Tools:
Screw drivers, Socket set
The clock on my oven range was failing and needed to be replaced.
There were 2 problems that I need to figure out before I got started: 1) What parts I needed to buy and 2) How to open the clock compartment to do the repair. It turns out that $125 Clock Overlay is absolutely required in addition to the Oven Clock Control Board. You cannot do the repair without the new Overlay because the positions of different buttons and displays are in different locations from the original device. First unplug power to the range. Then, to open the clock compartment at the back of the range, ONLY remove the 2 screws in the front. The sheet metal housing easily unsnaps from the 2 side End Caps. Once opened, just remove the 4 screws holding the old Clock Control Board in place. Remove the 2 power wires connected to the old board. Then to install the new unit, carefully stick the new overlay onto the new Clock Control Board, checking for placement and alignment. Don't put it on upside down. Put the new Clock Control Board assembly in place where the old one was and reinstall the 4 screws. Plug the Red wire to the 'Line' terminal and the White wire to the 'Common' terminal, Then just reassemble the unit and replace the 2 screws in the front of the range. 2 other notes: 1) I didn't need to worry about the Power Resistor notice on the supplied instructions as my unit didn't have one. 2) I chose to move the location of the Green 'Ground' wire to another screw location to make the installation as easy as possible.
0 of 1 people found this instruction helpful.
Was this instruction helpful to you?
Thank you for voting!
Customer:
william stutler from BRIDGEPORT, WV
Parts Used:
WB27T10469
Difficulty Level:
Really Easy
Total Repair Time:
15 - 30 mins
Tools:
Nutdriver, Screw drivers
clock stoped working
removed two screws from back panel, and pulled it down took four screws out of control board. removed two wires. took face plate off old board and put it on new board. reverse the order to put it back. it works great.
0 of 1 people found this instruction helpful.
Was this instruction helpful to you?
Thank you for voting!
Customer:
Louann from Charlotte, NC
Parts Used:
WB27T10469
Difficulty Level:
Easy
Total Repair Time:
15 - 30 mins
Tools:
Screw drivers, Socket set
lightning strike sent surge through home frying clock/timer on range
I pulled the stove out and unplugged it. Removed back panel to access electronic panel. Removed 4 screws and two wires and replaced with new one. Had to peel off label panel from old unit, clean and carefully line up on new one. Reassembled back and reset time. Piece of cake
0 of 1 people found this instruction helpful.
Was this instruction helpful to you?
Thank you for voting!
  • 1

Model Compatibility

This part works with the following models:
Fix Number: FIX783551
Manufacturer Part Number: WB27T10469
Brand
Model Number
Description
General Electric
15451-0
Range
General Electric
154510
Range
Kenmore
36261741000
Range
Kenmore
36261741001
Range
Kenmore
36261742000
Range
Kenmore
36261742001
Range
Kenmore
36261748000
Range
Kenmore
36261748001
Range
Kenmore
36271112000
Range
Kenmore
36271112001
Range
Kenmore
36271117000
Range
Kenmore
36271117001
Range
Kenmore
36271330200
Range
Kenmore
36271330201
Range
Kenmore
36271330202
Range
Kenmore
36271331200
Range
Kenmore
36271331201
Range
Kenmore
36271331202
Range
Kenmore
36271332200
Range
Kenmore
36271332201
Range
Kenmore
36271332202
Range
Kenmore
36271351790
Range
Kenmore
36271358790
Range
Kenmore
36271661691
Range
Kenmore
36271665690
Range
Kenmore
36271665691
Range
Kenmore
3627166590
Range
Kenmore
36271668690
Range
Kenmore
36271668691
Range
Kenmore
36271671890
Range