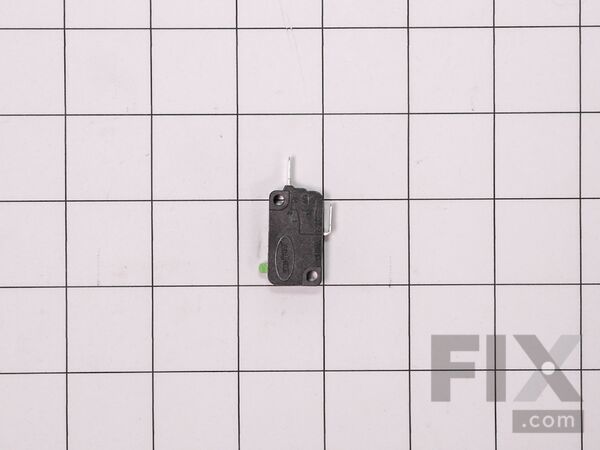
Part Location Diagram of 6600W1K001C LG Switch,Micro
See part 4003 in the diagram
( Grid squares measure 1x1 inch )

Switch,Micro

★★★★★
★★★★★
1 Review

Rated by 2 customers 

?

Easy 

30 - 60 mins 

Ratings submitted by customers like you who bought this part.

?
$10.64
On Order
Fix Number:
FIX3529293
Manufacturer #:
6600W1K001C
Manufactured by:
LG

Product Description

Questions and Answers

We're sorry, but our Q&A experts are temporarily unavailable.
Please check back later if you still haven't found the answer you need.

Installation Instructions Provided by Fix customers like you.

Average Repair Rating: 2.8 / 5.0, 2 reviews.
  • 1
Sort by:
Sorry, we couldn't find any existing installation instruction that matched.
Customer:
rockie from eugene, OR
Parts Used:
6600W1K001C, 3B73362F
Difficulty Level:
A Bit Difficult
Total Repair Time:
1- 2 hours
Tools:
Pliers, Screw drivers
microwave wouldn't heat, door switches failed
First step is to test all 3 door switches. I couldnt find a video of removing the switches on partselect.com, so I had to wing it. Took the case off and eventually found out the switches can be removed from the front. Then I learned another important lesson - replace all 3 switches and the holder as an assembly. I bought 2 switches but fo und out you cant remove the switches without destroying the holder. That was a $17 mistake. The entire assembly is only $3 more than 2 switches.
18 of 22 people found this instruction helpful.
Was this instruction helpful to you?
Thank you for voting!
Customer:
William from Mechanicsburg, PA
Parts Used:
6930W1A003X, 6600W1K001C, 4510W3A012B, 3B73362F
Difficulty Level:
Easy
Total Repair Time:
15 - 30 mins
Tools:
Pliers, Screw drivers
Microwave would run a few seconds then quit
Removed cover and control panel. Discovered the thermostat had a burned connection. Removed thermostat and replaced. Small issue with new thermostat which is version 2. Both leads were large and while the previous thermostat had one small lead and the other large. I had to expand one of the connectors, cut the plastic sleeve and secure wi th electrical tape. The switches went in very easily and everything went back together without any problems.
5 of 9 people found this instruction helpful.
Was this instruction helpful to you?
Thank you for voting!
  • 1
Customer Reviews
Average Rating: (1 Review)
5.0
★★★★★
★★★★★
Filter By Rating:
  • 5
    1
  • 4
    0
  • 3
    0
  • 2
    0
  • 1
    0
  • 1
Sort by:
Sorry, we couldn't find any existing reviews that matched. Try using some different or simpler keywords.