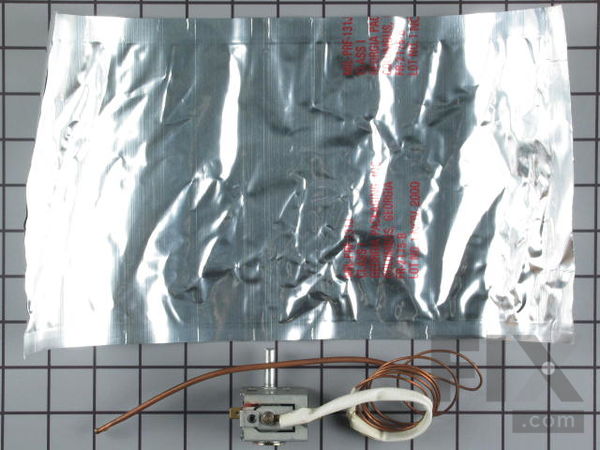
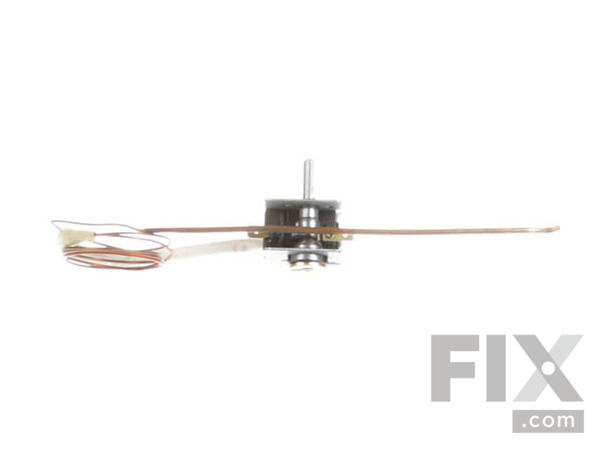
Part Location Diagram of WB20K8 GE Oven Thermostat
See part 17 in the diagram
( Grid squares measure 1x1 inch )

Oven Thermostat

Rated by 5 customers 

?

Easy 

30 - 60 mins 

Ratings submitted by customers like you who bought this part.

?
$228.39
On Order
Fix Number:
FIX235170
Manufacturer #:
WB20K8
Manufactured by:
GE

Product Description

This part establishes and maintains the internal temperature of the oven cavity.

Questions and Answers

We're sorry, but our Q&A experts are temporarily unavailable.
Please check back later if you still haven't found the answer you need.

Installation Instructions Provided by Fix customers like you.

Average Repair Rating: 3.1 / 5.0, 5 reviews.
  • 1
Sort by:
Sorry, we couldn't find any existing installation instruction that matched.
Customer:
MICHAEL from West Terre Haute, IN
Parts Used:
WB20K8
Difficulty Level:
Easy
Total Repair Time:
1- 2 hours
Tools:
Screw drivers
Oven control stem and know broke off
Unplug the power source. Raise the range top by releasing the two spring clips at front. Remove the burner control knobs. Remove the two electrical connections at the switch. Remove the six screws to take off the front burner control panel. Remove the two thermostat control knob mounting screws. Detatch the thermostat from the two sp ring clips at inside of the oven and remove the old thermostat through the small hole at the back of the unit. Simply thread the new thermostat through the same access hole and align and fasten the thermostat control, thermostat, and front panel in reverse order. Be sure the oven knob is turned the "off" before restoring power.
3 of 3 people found this instruction helpful.
Was this instruction helpful to you?
Thank you for voting!
Customer:
jack from memphis, TN
Parts Used:
WB20K8
Difficulty Level:
Really Easy
Total Repair Time:
30 - 60 mins
Oven did not cut off when temp. set
Determined the problem was defective oven thermostat. Called appliance repair service since range in multi unit buildg. for fear of fire.Repairman checked oven setting with ohm meter. Installed thermostat. Works OK now. Thanks for your prompt delivery. J.Borg.
1 person found this instruction helpful.
Was this instruction helpful to you?
Thank you for voting!
Customer:
Thomas from Manteno, IL
Parts Used:
WB20K8
Difficulty Level:
A Bit Difficult
Total Repair Time:
1- 2 hours
Tools:
Pliers, Socket set
Oven stayed on. Would not shut off without unplugging
1. Unplugged range 2. shut gas valve 3. removed burner grates/pans, etc. . 4. unscrewed burners from oven (torx) 5. Removed Oven/Burner knobs (they pull right off) 6. utilized butter knife to access clips between top panel of range and oven body to open top panel. 7. unscrewed (cross tip and socket) front panel where knobs were located. 8. utilized uppermost top rack from oven pulled 1/4 way out from inside oven, placed small box to hold front panel, so I did not have to unhook light switch. 9. Fished new thermostat wire through top of oven where old one was. 10. Once new wire was in oven cavity, cut old thermostat wire. 11. undid clips with pliers and put new thermostat wire with the clips and inserted back to backside of oven. 12. pulled old wire out from oven. 13. unscrewed old thermostat 15. unhooked terminals from old thermostat. 14. hooked new thermostat to terminals. 15. re-used cardboard that was with old thermostat with new. 16. screwed new thermostat back to oven. 17. put front panel back on and knobs. 18. closed top panel. 19 re-screwed burners back to oven. 20. Put burner plates/grates back on. 21. turn gas valve on. 22. Plugged range in 23. cooked a pizza.
1 person found this instruction helpful.
Was this instruction helpful to you?
Thank you for voting!
Customer:
Fernando from East Hartford, CT
Parts Used:
WB20K8
Difficulty Level:
Easy
Total Repair Time:
30 - 60 mins
Tools:
Screw drivers, Socket set
Heat turning on by it self.
unscrewed front panel and followed the old Thermostat part position and that is it.
0 of 1 people found this instruction helpful.
Was this instruction helpful to you?
Thank you for voting!
Customer:
joe from cape may, NJ
Parts Used:
WB20K8
Difficulty Level:
Easy
Total Repair Time:
15 - 30 mins
Tools:
Nutdriver, Pliers, Screw drivers
warmed up the over about 300 degrees.
15 min and total success great web site . troubleshooting was great this web site .I am a costumer for life . thanks
0 of 1 people found this instruction helpful.
Was this instruction helpful to you?
Thank you for voting!
  • 1

Model Compatibility

This part works with the following models:
Fix Number: FIX235170
Manufacturer Part Number: WB20K8
Brand
Model Number
Description
General Electric
1C3061BI3A
Range - *gas Range Mabe 30 Inch White
General Electric
1C3091I2A
Range - *gas Range Mabe 30 Inch Bk
Kenmore
36261111699
Range
Kenmore
3626111192
Range
Kenmore
3626111193
Range
Kenmore
3626111194
Range
Kenmore
3626111195
Range
Kenmore
3626111196
Range
Kenmore
3626111197
Range
Kenmore
3626111198
Range
Kenmore
36261118699
Range
Kenmore
3626111892
Range
Kenmore
3626111893
Range
Kenmore
3626111894
Range
Kenmore
3626111895
Range
Kenmore
3626111896
Range
Kenmore
3626111897
Range
Kenmore
3626111898
Range
Kenmore
36261120101
Range
Kenmore
36261120102
Range
Kenmore
36261120103
Range
Kenmore
36261120104
Range
Kenmore
36261121890
Range
Kenmore
36261121891
Range
Kenmore
36261121892
Range
Kenmore
36261121893
Range
Kenmore
36261121894
Range
Kenmore
36261121895
Range
Kenmore
36261121896
Range
Kenmore
36261128890
Range