Ratings submitted by customers like you who bought this part.
?
$10.98
In Stock
Fix Number:
FIX11738882
Manufacturer #:
WP21352320
Manufactured by:
Whirlpool
Works With Model CAV2004AJW!
Product Description
This is a V-style drive belt that measures approximately 51-inches long and 3/8-inches wide. This part connects the drive motor to the drive system in the washer to turn the basket. It is prone to wear with time and require replacement. Some common signs that the drive belt may be worn is if the motor continues to run, but the washer is not agitating, spinning, or draining. This part is sold individually and is OEM authorized.
Works with the following brands:
Norge, Magic Chef, Admiral, Maytag
Works with the following products
Washer
Fixes the following symptoms
Burning smell, Spins slowly, Will not drain, Will not agitate
This is a V-style drive belt that measures approximately 51-inches long and 3/8-inches wide. This part connects the drive motor to the drive system in the washer to turn the basket. It is prone to wear with time and require replacement. Some common signs that the drive belt may be worn is if the motor continues to run, but the washer is not agitating, spinning, or draining. This part is sold individually and is OEM authorized.
Works with the following brands:
Norge, Magic Chef, Admiral, Maytag
Works with the following products:
Washer
Fixes the following symptoms:
Burning smell, Spins slowly, Will not drain, Will not agitate
Part# WP21352320 replaces these:
AP6005822, 21001478, 21352320, 35-2073, 35-2320, 35-3662
...
Show more, WP21352320VP Show less
Videos For installing this part.
Replacing your Drive Belt - 51 inches long
Questions and Answers
We're sorry, but our Q&A experts are temporarily unavailable.
Please check back later if you still haven't found the answer you need.
1 question answered by our experts.
< Prev
1
Next >
Sort by:
Search filter:
Clear Filter
Your search term must have 3 or more characters.
Keep searches simple. Use keywords, e.g. "leaking", "pump", "broken" or "fit".
Sorry, we couldn't find any existing answers that matched. Try using some different or simpler keywords, or submit your new question by using the "Ask a Question" button above!
Arthur
October 11, 2021
WASHER STARTS NORMAL AGITATING THEN IN BETWEEN THESE A SNAPPING SOUND EVERY OTHER AGITATION SOUND THEN EVENTUALLY GOES AWAY?
For model number ATW4675YQ1
Hello Arthur, Thank you for the question. We suggest checking the Washer Drive Pulley for wear or damage. We hope this helps!
This snubber ring fits washers and is located between the leg and dome assembly. The ring has a diameter of 9 inches. It is used to reduce noise and vibration for stability when the washer is operating. If your washer sh...
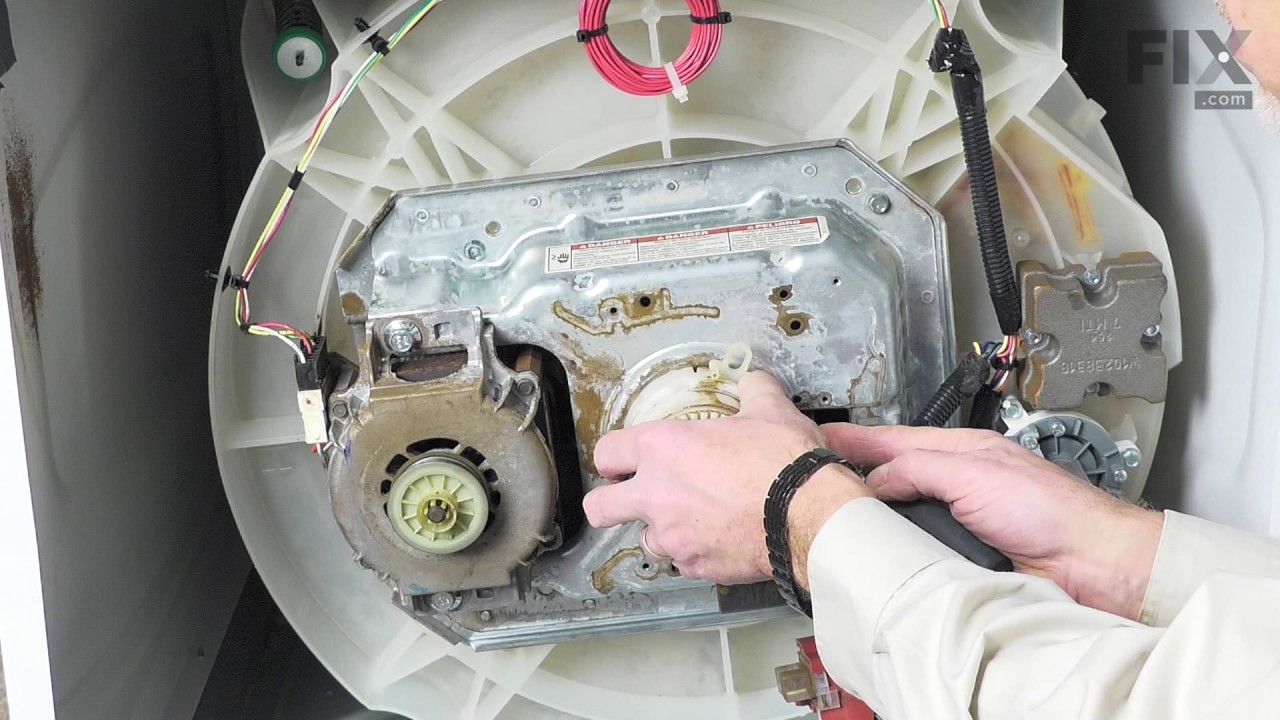
This pump helps expel water from the washing machine and is activated after the spin speed is maintained for a specific period of time. NOTE: This is a redesigned part. The pump now mounts on to the base of the washer - ...
Installation Instructions Provided by Fix customers like you.
Average Repair Rating: 3.9 / 5.0, 21 reviews.
< Prev
1
2
3
Next >
Sort by:
Search filter:
Clear Filter
Your search term must have 3 or more characters.
Keep searches simple. Use keywords, e.g. "leaking", "pump", "broken" or "fit".
Sorry, we couldn't find any existing installation instruction that matched.
The pulley from the motor broke. It cause the belt to stretch.
A burn smell was coming out from the bottom of the washer. I followed the instructions in the video. It was so easy. I have to add that I am a 45 year old woman. If I can do it anybody can! Thank you so much you saved me about 300 hundred dollars. My husband wanted to buy a new one.
no repair with the tub half empty tried to get it to fill up but no power then remembered the safety lock,when tub gets out of balance automaticly shuts down no power. Put level on top of washer and not level slightly off so leveled machine (top loader)moved the tube around and shut lid presto back to washing
washer not spinning enough to expel all of water/ clothes to wet
tilt washer and support safely .belt is on bottom ,no panels to remove . roll old belt off ,roll on new one. lower washer ,re - position and your back in business .
Uneven grinding whirl sound during certain parts of the cycle
The first thing I did was to pull the clothes washer away from the wall far enough that I could access the back side. My model has a small 15 inch square access panel towards the bottom that allows one to access the interior where the wash basin, drive train, motor and pump are located. After watching a few of the very helpful fix it vi
... Read moredeos online, I also noted that the pulley and drive belt were located on the under side of the washer. So I oriented the washer away from the wall so I could lean it back and also take a look at the underside to inspect the belt. The sound that I was hearing was something between the noise you might hear from a car whose belt has gone bad, or the sound that a large rolling commercial cabinet with big caster wheels would make when its wheel bearings are shot. The later being more of a grinding noise where the former is more of a whirl or squeal type of noise. Based on what the sound reminded me of, I naturally was interested in any parts of the washer where there might be a belt and things that turn with bearing like parts. Upon inspection of the belt under the washer I noticed that the belt was delaminating in a small 1/2 inch section, which suggested that this was an easy diagnosis and fix - it needed to be replaced. However, the sound the clothes washer was making also had a hint of grinding that was uneven in nature, suggesting the real problem was more metal/mechanical in nature. I returned the washer to its upright position and ran a small load with the cover to the access panel off, so I could see the wash basin, drive train, motor and pump in action. I was particularly interested in seeing if I could more clearly identify where the grinding whirl sound was coming from and what part of the cycle it was being caused by. The sound happened at certain times which also provided some clues as to what might be causing it. After listening and watching a cycle through the access panel, I determined that the sound was not the motor and didn't seem to be associated with the drive train or the basin. All that was left was the drain pump. At this point, I returned the washer to its normal location and ordered both a drive belt and a new drain pump from this site. A few days later the parts showed up on my doorstep earlier than promised. I then returned to my washer and pulled it away from the wall again so I could easily access the back and the panel. I also positioned it so I could lean the washer far enough to access the under side where the belt is. The belt drive is made up of the motor, the basin drive train and the drain pump. That is to say that the motor spins a pulley to which the belt is attached, which in turn spins the basin pulley or the drain pump pulley depending on the direction the motor spins. The first thing you must do before you start poking around and removing anything is to unplug the unit from the wall. Don't be stupid and choose to die on a laundry room floor. Once unplugged, leaned the washer so I could remove the old belt. I recommend watching the belt video as it shows the technique for removing and installing the belt - it is super easy. Takes less than 20 seconds. Before installing my new belt, I leaned the washer back to the floor. The belt creates some tension on the drain pump since they are connected by way of the pulley under the washer. It is necessary to remove the belt before attempting to remove the drain pump. Removing the drain pump is slightly more difficult than the belt, but completely doable for most anybody. Again, I recommend watching the very helpful drain pump video offered online with this site. The hardest part is dealing with the hose clamps. Using an adjustable pliers you have to simultaneously pinch the clamp while sliding it up and off or over the hose. Once you do that you are half way there. You can then slide the hoses off the plastic pump inlet and outlet. I recommend making sure you have run a full cycle so that your basin is as drained as it possibly can be. My pump was working well enough to do this before I started the repair job. Even then, when you pull the hose off the inlet or outlet of the pump, you will have approximately 3-5 cups of water drain out of the hose. Not a big deal if you preposition a few towels around the base of the inlet and outlet of the pump. The second source of water is the water in the pump itself, which will spill a little as you start to remove the pump. To remove the pump you simply need to loosen three screws with a socket and driver. It can be a little awkward to get your tools in a position to loosen the screws, but there is enough room to do it. Once the screws are loose, you simply lift the pump off the floor and with it comes the drain pump pulley that the belt underneath is connected to. The next step is to install the new pump doing everything in reverse. Place the pump in the floor hole (new pump comes with new pulley), attac
Washer pump was broken, making loud continuous noise.
First, make the back of the washer accessable. Second, remove 4 screws holding the plate cover in left rear of washer. Third, use adjustable pliers to remove both hoses. Fourth, use a 10mm socket, and remove the three hold down screws at the base of the water pump. The belt tension will release automatically, when the pump is unbolted. F
... Read moreifth, reverse same steps. Last, tip the washer forward, and place belt on the transmission pulley and the motor pulley. The motor itself is adjustable with spring tension, allowing you to move the motor itself, while placing the belt on the water pump pulley. When you allow the spring tension of the motor to spring back in place, your belt will be tight. Place water pump cover (access panel) back in place. Your washer is ready to be used.
A loud screech followed by burned rubber smell stalled the drain pump. The outer drain pump bushing had failed.
We drained the wash tub and turned it on its' front. Turning each bottom pulley by hand soon revealed the drain pump pulley was frozen. The belt and rear panel were removed. The drain hoses were disconnected and three screws removed with a socket to remove the pump, which unlike some older models was easily accessible. Installation of th
... Read moree new part and belt required about 15 minutes to complete the repair.
Loud squeeking, screeching sound during agitation cycle
Very simple repair...disconnected the power and turned off the water supply (have found those two don't mix well). Leaned the washer backwards far enough so I could get my arms and shoulders underneath enough to reach each part the belt looped around and simply unhooked the belt using the slack allowed by the water pump. Unhooked from all
... Read more three wheels and restrung the new belt using the same slack allowed. Made sure to turn the wheels a few rotations to make sure the belt was properly seated, lowered the washer, plugged the power back in and turned the water back on. Easy as that.
I pulled the machine away from the wall, just enough to lean it back far enough to see the parts at the bottom of the unit. I rolled the belt from the big pulley, popped the dust cover from that pulley, removed the retainer clip, and the parts practically fell to a paper towel. replace them in reverse without any problem. Although I unpl
... Read moreugged the machine, I did not remove the water hoses or drain line as sufficient room was available with the machine leaned against the wall.
Read less
0 of 1 peoplefound this instruction helpful.
Was this instruction helpful to you?
Thank you for voting!
< Prev
1
2
3
Next >
★
Customer Reviews
Average Rating:
(1 Review)
5.0
★★★★★
★★★★★
Filter By Rating:
5★
1
4★
0
3★
0
2★
0
1★
0
< Prev
1
Next >
Sort by:
Search filter:
Clear Filter
Your search term must have 3 or more characters.
Keep searches simple. Use keywords, e.g. "leaking", "pump", "broken" or "fit".
Sorry, we couldn't find any existing reviews that matched. Try using some different or simpler keywords.
★★★★★
★★★★★
Erich W - February 20, 2020
Verified Purchase
Maytag washer
Ordering over the phone was easy works great , took a little longer to receive it then I thought but still with in a week . I would order again .
Model Compatibility
This part works with the following models:
Fix Number: FIX11738882
Manufacturer Part Number: WP21352320
Washer
- Norge Washing Machine Model 6530A REV G (6530AREVG) Parts
✖
Mail-In Recycling Rebate
Some of the parts we sell are eligible for mail-in rebates since we can recycle them. We will display any applicable rebates in your shopping cart. To redeem your rebate, contact Customer Service after you have received your part.