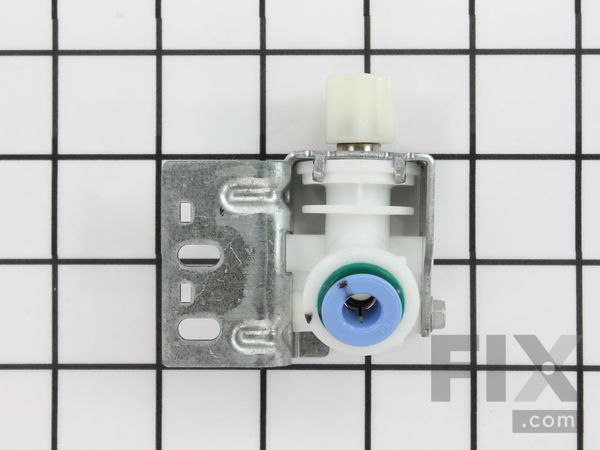
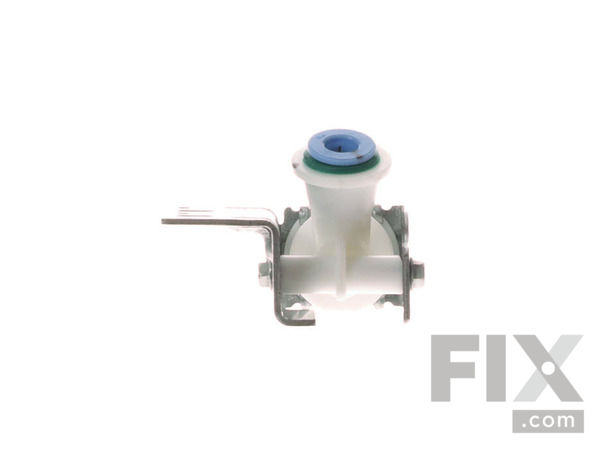
Tubing Connector
$63.52
In Stock
Fix Number: FIX11754831
Manufacturer #: WPW10445062
Manufactured by:
Whirlpool
-
Product Description
NOTE: As per the manufacturer, some refrigerators use a separate customer connection fitting.
-
Works with the following brandsEstate, KitchenAid, Roper, Whirlpool
-
Fixes the following symptomsLeaking, Ice maker not making ice
-
Part Number Cross ReferencePart# WPW10445062 replaces these:AP6021507, W10445062
Product Description
NOTE: As per the manufacturer, some refrigerators use a separate customer connection fitting.
-
Works with the following brands:Estate, KitchenAid, Roper, Whirlpool
-
Fixes the following symptoms:Leaking, Ice maker not making ice
-
Part# WPW10445062 replaces these:AP6021507, W10445062
Questions and Answers
We're sorry, but our Q&A experts are temporarily unavailable.
Please check back later if you still haven't found the answer you need.
Related PartsAdditional or alternate parts to consider.
Installation Instructions Provided by Fix customers like you.
- < Prev
- 1
- Next >
Sort by:
Search filter:
Clear Filter
Your search term must have 3 or more characters.
Keep searches simple. Use keywords, e.g. "leaking", "pump", "broken" or "fit".
Sorry, we couldn't find any existing installation instruction that matched.
-
Customer:Sean from Seaford, NY
-
Difficulty Level:Really Easy
-
Total Repair Time:Less than 15 mins
-
Tools:Nutdriver
Ice Maker Not Making Ice
Pull Fridge away from wall. Have paper towels for residual water in tubing. Shut off water supply valve. Unplug fridge. Remove screws holding cardboard guard in place. Unscrew two screws holding valve in place. Remove electrical plugs note which color went to which color solenoid coil. (red & green) Remove tubing from old valve and place into new one by one. Be sure tubing is in good condition and is pushed all the way in to seat. Turn water supply valve is back on and verify no leakage. Mount valve back in place with two screws, vacuum any dirt and debris while your there and replace cardboard panel. Plug fridge back in and push back in place. Ice will begin making in a minute or so.
Was this instruction helpful to you?
Thank you for voting!
-
Customer:Joseph from Hollidaysburg, PA
-
Difficulty Level:Really Easy
-
Total Repair Time:15 - 30 mins
-
Tools:Socket set
Ice maker wasn't getting water to it.
After disconnecting plug wire and shutting off water supply tube to refrigerator, remove bottom back panel. Disconnect tubing to water valve, tubing connector and two electrical connections and then remove old water valve. Note: I took a photo of old valve with my cell phone, before removing, so as to ensure correct reconnections on new valve (thus need for drop light). Reconnected tubes to new valve and tubing connector and the two electrical connections to valve. Checked for leaks before replacing panel. Took about 20 minutes and works fine--wife still amazed. Note: video of a water valve replacement is available on youtube.com.
Was this instruction helpful to you?
Thank you for voting!
-
Customer:William from Marion, VA
-
Difficulty Level:Difficult
-
Total Repair Time:30 - 60 mins
-
Tools:Nutdriver
Have ice but no water
Replaced water supply line, water inlet valve, solenoid, and water filter. I wasn,t sure if I had the water lines hooked correctly. I hooked the 5/16 line from water supply line to water filter, the other line from filter 1/4 back to 1/4 connector. The 5/16 line to other connector . Got tired and gave up for time being. This was the way before I started.
Was this instruction helpful to you?
Thank you for voting!
- < Prev
- 1
- Next >