Some of the parts we sell are eligible for mail-in rebates since we can recycle them. We will display any applicable rebates in your shopping cart. To redeem your rebate, contact Customer Service after you have received your part.
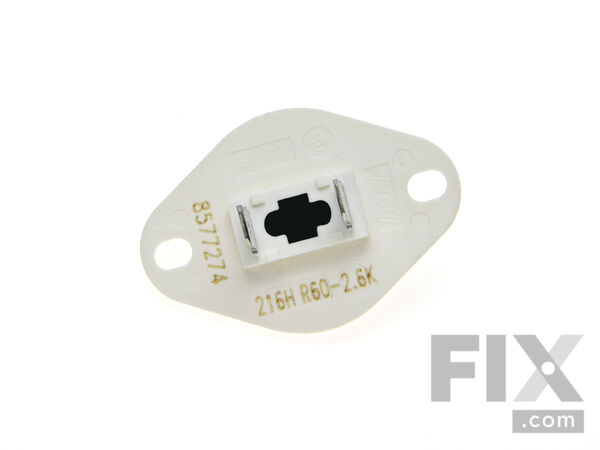
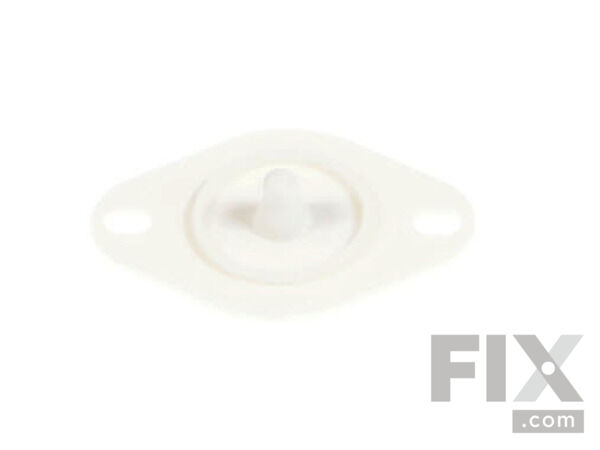
Thermostat, Internal-Bias
- Fix Number:
- FIX11746740
- Manufacturer #:
- WP8577274
- Manufactured by:
- Whirlpool
- Product Description
- The internal-bias thermostat, also know as a thermistor, is used to prevent the dryer from overheating. It does this by monitoring and controlling the temperature of the inside of the dryer drum. If your dryer is overheating, not drying your clothes properly, or is not providing enough heat, there could be an issue with the thermostat. You can test the part by using a multimeter, which should read 10,000 ohms of resistance at room temperature, give or take a 10 percent fluctuation. If your reading is not in that range, the thermistor will need to be replaced. Replacing this part is a simple repair, but to access it you will need to lift the main top on your dryer, and remove both the front panel and the bulkhead. The part is found next to the thermal fuse, on the blower housing. Be sure to disconnect the power supply to your dryer before beginning this repair. This is a genuine OEM thermistor, made of white plastic and is sold individually.
- Works with the following brands:
- Whirlpool, Kenmore, Maytag, KitchenAid
- Works with the following products
- Dryer, Washer Dryer Combo
- Fixes the following symptoms
- Too hot, Not Heating, Touchpad does not respond, Won’t Start
- Part# WP8577274 replaces these:
- AP6013514, 3390292, 3406294, 3976615, 772546, 8577274, WP8577274VP
Product Description
The internal-bias thermostat, also know as a thermistor, is used to prevent the dryer from overheating. It does this by monitoring and controlling the temperature of the inside of the dryer drum. If your dryer is overheating, not drying your clothes properly, or is not providing enough heat, there could be an issue with the thermostat. You can test the part by using a multimeter, which should read 10,000 ohms of resistance at room temperature, give or take a 10 percent fluctuation. If your reading is not in that range, the thermistor will need to be replaced. Replacing this part is a simple repair, but to access it you will need to lift the main top on your dryer, and remove both the front panel and the bulkhead. The part is found next to the thermal fuse, on the blower housing. Be sure to disconnect the power supply to your dryer before beginning this repair. This is a genuine OEM thermistor, made of white plastic and is sold individually.
-
Works with the following brands:Whirlpool, Kenmore, Maytag, KitchenAid
-
Works with the following products:Dryer, Washer Dryer Combo
-
Fixes the following symptoms:Too hot, Not Heating, Touchpad does not respond, Won’t Start
-
Part# WP8577274 replaces these:AP6013514, 3390292, 3406294, 3976615, 772546, 8577274 ... Show more , WP8577274VP Show less
Videos For installing this part.
Replacing your Thermostat, Internal-Bias

Questions and Answers
We're sorry, but our Q&A experts are temporarily unavailable.
Please check back later if you still haven't found the answer you need.
- < Prev
- 1
- Next >
Try using some different or simpler keywords, or submit your new question by using the "Ask a Question" button above!


Related Parts Additional or alternate parts to consider.
Installation Instructions Provided by Fix customers like you.
- < Prev
- 1
- 2
- 3
- Next >
- Customer:
- Daniel from Winter Haven, FL
- Parts Used:
- WP8577274
- Difficulty Level:
- A Bit Difficult
- Total Repair Time:
- 30 - 60 mins
- Tools:
- Screw drivers, Socket set, Wrench set
- Customer:
- Richard from ormond beach, FL
- Parts Used:
- WP8577274
- Difficulty Level:
- Really Easy
- Total Repair Time:
- 15 - 30 mins
- Tools:
- Nutdriver, Screw drivers
NO NEED to remove the top panel or drum for this!
Open the lower front panel of the dryer by holding down the metal clips with a flat screw driver.
Clean the path of lint removal system including the lint chamber.
Suck out all lint with a vacuum from the internals of the dryer ... Read more and the rear lint outlet.
Remove two nuts holding the fan cover.
Use a paint brush on the fan blades to remove caked lint and suck out all of the lint with a vacuum.
With the lint removed, use a pair of nose pliers to disconnect wiring to the fuse.
Remove the old fuse with a nut driver and replace with new one, wiring it back.
Do the same with the Thermostat which is located right next to the Thermal fuse in this model.
Put back fan cover and lower cabinet cover of the dryer.
Plug unit back into the outlet.
Run diagnostics. if all parts show working.
Do a test run and make sure dryer hits right temperatures in different modes.
- Customer:
- William from Litchfield Park, AZ
- Parts Used:
- WP8577274
- Difficulty Level:
- A Bit Difficult
- Total Repair Time:
- 30 - 60 mins
- Tools:
- Socket set
- < Prev
- 1
- 2
- 3
- Next >
- < Prev
- 1
- Next >
Model Compatibility
Manufacturer Part Number: WP8577274


