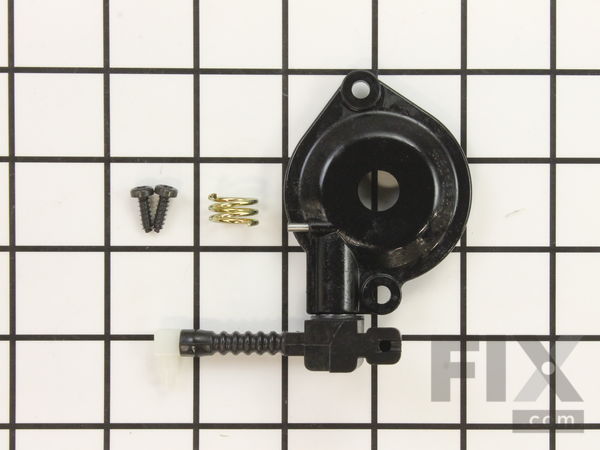
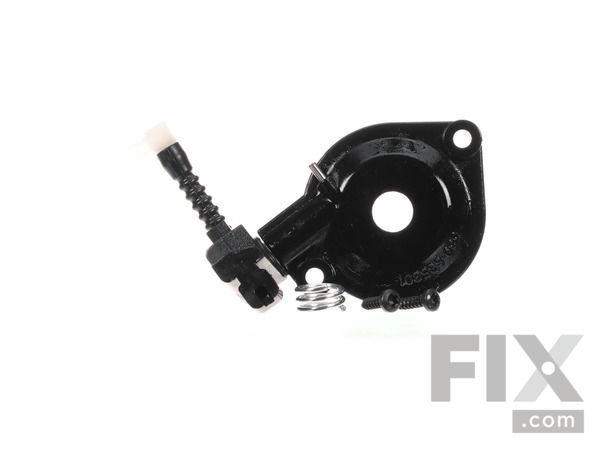
Kit-Oil Pump
$31.11
In Stock
Fix Number: FIX9472718
Manufacturer #: 530071891
Manufactured by:
Poulan
-
Works with the following brandsPoulan, Husqvarna
-
Works with the following productsChainsaw
-
Part Number Cross ReferencePart# 530071891 replaces these:530071891
Product Description
-
Works with the following brands:Poulan, Husqvarna
-
Works with the following products:Chainsaw
-
Part# 530071891 replaces these:530071891
Videos For installing this part.
Replacing your Kit-Oil Pump

Questions and Answers
We're sorry, but our Q&A experts are temporarily unavailable.
Please check back later if you still haven't found the answer you need.
Related PartsAdditional or alternate parts to consider.
Installation Instructions Provided by Fix customers like you.
- < Prev
- 1
- Next >
Sort by:
Search filter:
Clear Filter
Your search term must have 3 or more characters.
Keep searches simple. Use keywords, e.g. "leaking", "pump", "broken" or "fit".
Sorry, we couldn't find any existing installation instruction that matched.
-
Customer:Chip from TOWNSEND, DE
-
Difficulty Level:Really Easy
-
Total Repair Time:Less than 15 mins
-
Tools:Screw drivers, Socket set
Not oiling the bar & chain
Take the (bar) side cover off with the saw-tool, called the scwrench. Loosen the bar and remove the bar and chain. remove the (E) clip from the outside grove of the crank-shaft, with a small screw driver. Be careful not to loose it or over stretch this clip, or you'll have to replace it, which isn't a bad idea anyway. Take note of the position of the washers and bearings as they come off with the drive gear and outside clutch bell. I stack these parts in the order they came off. At this point you'll either need a clutch removal tool or block the piston from moving by placing a small piece of rope on top of the piston through the spark plug hole. If you use this method, be sure not to lower the piston to far in the cylinder, or you could get the rope caught in the transfers, and that is a hole new ball of wax. Back to the Clutch shoe assembly, It has reverse threads on it. To remove it, it turns the direction you would usually tighten a bolt, to take it off. CLOCKWAYS.. you can use a hammer with a screwdriver, and a short, but sharp blow to brake the clutch loose. It just spins off after its loose. Place those parts it the order they came off, with the clutch outer drum, bell, whatever you want to call it The plastic part you'll be seeing at this point is the OIL PUMP housing and it is held on with two small phillip head screws. Take note off how the hoses are routed and remove those screws. Pull the whole assembly off, the plastic disc and the hose as one piece. Look and inspect the drive gear which looks like a spring
on the crank shaft. If it is not damaged or showing signs of wear, leave it. If you suspect it, for causing the problem, replace it. The steel drive gear usually flattens the plastic gear on the pump. Now, take the new pump and look at the back side and make sure the pump barrel is all the way in the plastic sleeve and the cutout is in the metal barrel is in line with the pin. Flip it back over and rout the hoes back in the grove making sure the opening of the hose lines up with the grove in the saw body. Now it is a simple reverse order to install the parts you removed earlier. the bearing in the clutch should have a drop, just a small drop of grease rubbed into the bearing before installation. Too much grease will get on the clutch when it's running and that will not be good. After putting the beveled washer, use extreme caution installing the (E) clip, almost never easy, even for pro's.
I would like to point out that the plastic gear that drives the pump shaft is in a very hot place. This being a homeowner type of saw, it's not made to take a lot of abuse. If your leaning on this saw and over heating the clutch getting it stuck in the wood, that little gear has no way to keep it's cool in there. Keep your chain sharp and let the saw do the cutting and that gear will last for years. Thanks for you putting up with my instructions, I'm not a writer, but I see this problem a lot and those pumps are getting hard to find. Good luck with your repair.
Was this instruction helpful to you?
Thank you for voting!
- < Prev
- 1
- Next >
Model Compatibility
This part works with the following models:
Fix Number: FIX9472718
Manufacturer Part Number: 530071891
Brand
Model Number
Description