It’s Hip to be Square
On any construction, woodworking or craft project, starting off on the right foot is essential. In most
cases, this means starting off square. “Square” means a 90-degree angle, and creating a set of 90-
degree square reference lines is the right way to go. Making these lines may sound simple enough, but
most people skip this step. If you do, you’ll subsequently experience problems down the line.
For example, you might assume that a room in your house or a purchased sheet of plywood is square,
meaning the corners are exactly 90 degrees. In most cases they are not. To avoid any unnecessary
frustration, a simple checking and/or laying out a set of 90-degree square reference base lines will make
your job go more smoothly.
As I mentioned, if you don’t start square, then problems will multiply exponentially as you continue with
your project. And each type of project requires a different level of accuracy.
The accuracy of “square” often directly relates of the size or distance of the work or square line. For
example, if I want to tile a 10-foot by 20-foot kitchen and the tool is out of square by one degree, then in
20 feet, my line would be out of square by roughly four inches. Can you imagine what happens with a
grid tiled floor? The tiles would create a misaligned pattern, and you’d have to cut some tiles on a
precise taper to fix it. Been there, done that; it’s a nightmare.
The acceptable tolerance and accuracy depends on the material, application, and distance you’re
working with. To avoid any problems, I shoot for perfect square every time, no matter the job.
There are a number of ways to lay out a square reference line using a variety of tools and/or techniques.
Each has its place and application, from large building foundations to cabinetry and fine design pattern
work such as tile, marquetry or quilting. These methods include old-school geometry (from that math
class you said you’d never use again) to using high tech lasers. But the most common method is by using
a tool called a square.
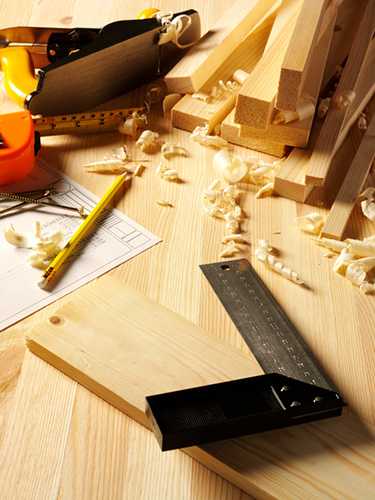
Types of Squares
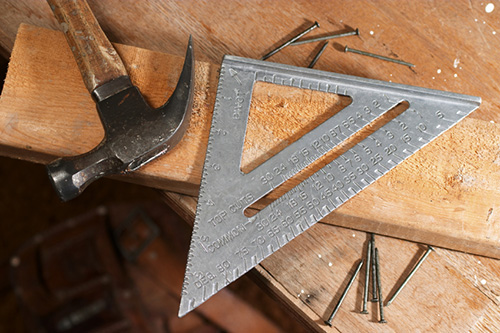
These squares come in a variety of styles from a framing square that looks like an “L”, a triangle square
which looks exactly how it sounds, (most common triangle tools are 45-degree triangles, and 30-, 60-,
90-degrees are used in mechanical drafting), or a combination square which has a sliding ruler and two
reference edges that will give you a 90- and 45-degree line. There are also adjustable squares available,
but I avoid them altogether—I just don’t trust their accuracy.
All of these tools are made with a variety of materials and a number of quality grades, each with their
own level of tolerance and relative price tag associated to it. Typically, the more expensive the tool, the
more accurate it is. Some of these tools can run into the hundreds of dollars, but a good brand can be
purchased for $20 or less, and with a little testing and fine-tuning, it will be as accurate as the pricey
ones. The very low-quality ones are made of plastic, which I also avoid.
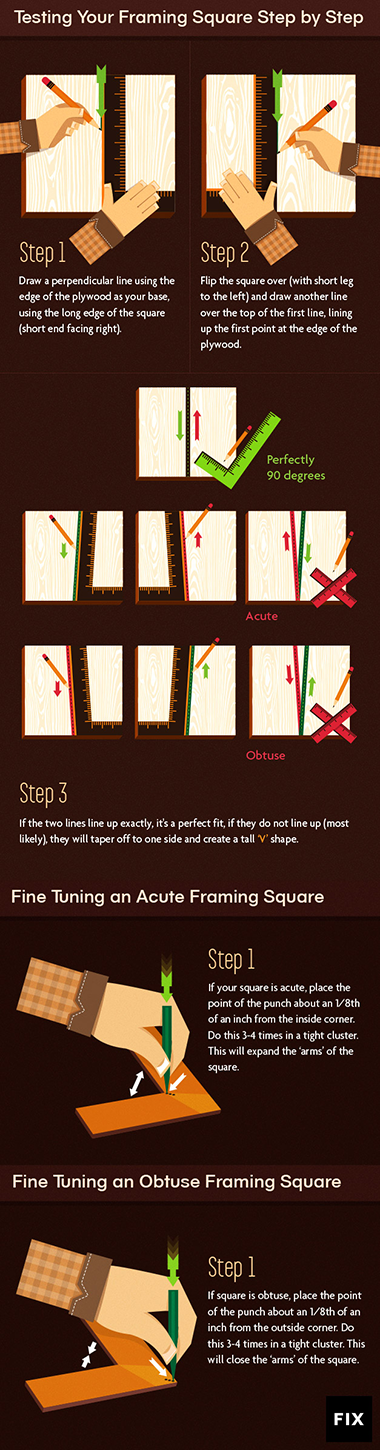
Testing the Square
When you buy one of these tools, don’t assume it will be a 90-degree square out of the box. They need
to be tested and sometimes fine-tuned, even the more expensive ones. Here is a quick and easy way to
check it:
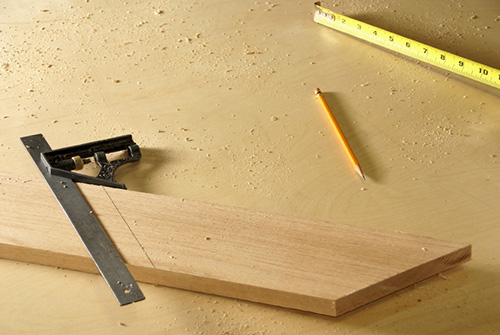
We test the square against itself by drawing a perpendicular line on a sheet of plywood using the edge
of the plywood as your base line. For example, your “L” shaped square is as the “L” is seen with the
short leg to the right—align this with the edge of the plywood. Draw a line using the long edge. Then
flip your square over with the short leg to the left and draw another line over the top of the first line,
lining up the first point at the edge of the plywood. If the two lines line up exactly, then you’re perfectly
at 90-degree square, but most often than not, the two lines will not line up—they’ll taper off to one side
or another and create a tall “V”.
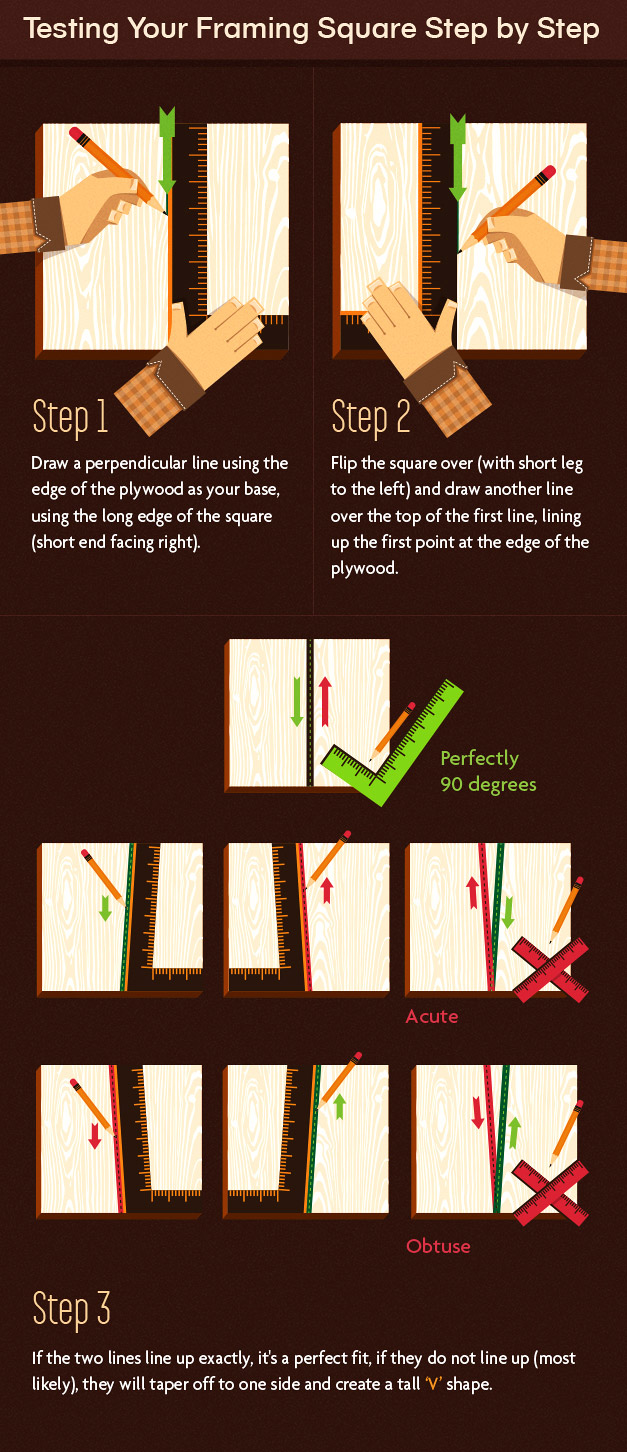
This “V” represents how “out of square” the tool is by a factor of two. For example if the “V” is one
degree, then the tool is out of square by one-half of a degree. If the angle leans in, or less than 90-
degrees, it is “acute,” if it leans out, or more than 90-degrees, it is “obtuse.”
Fine-Tuning A Framing Square
To fine-tune a framing square you will need a hammer and metal center punch, which is a large nail-like
item with a blunt point, typically used to punch or depress small divots or depressions into metal. By
hitting the square with the punch, the metal spreads, which allows you to adjust the angle of the square.
The following technique works only on metal, typically steel or aluminum, but not plastic.
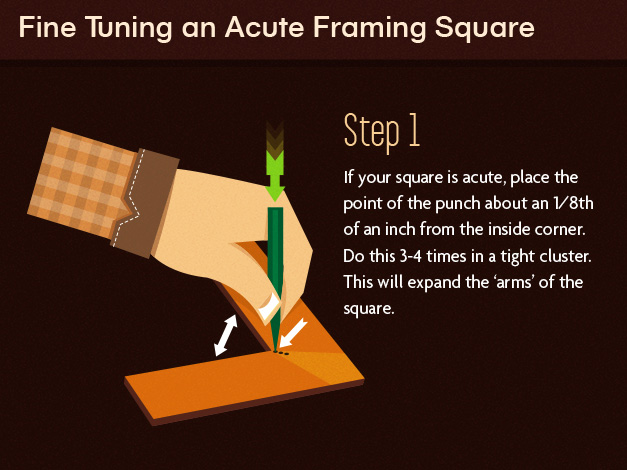
Start by laying the square down on a flat, hard surface, like a concrete floor or sturdy, solid workbench.
If the square is acute, or leaning in, place the point of the punch about an eighth of an inch from the
inside corner of the square and give it a good whack with a hammer. Do this three or four times in a
tight cluster. This will expand the metal and spread the “arms” of the square.
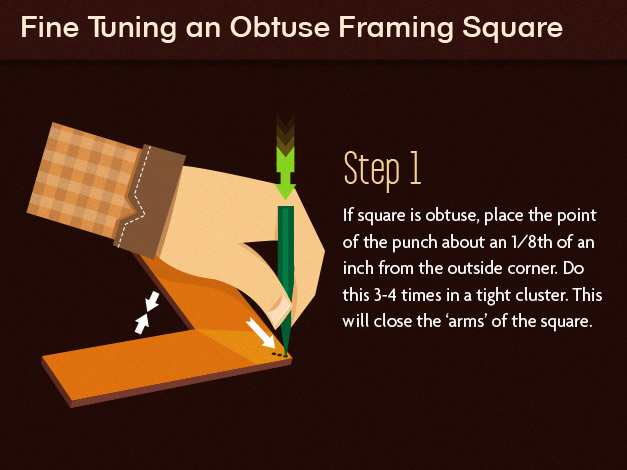
If the square is leaning out, or creates an obtuse angle, then place the punch on the outside corner and
whack it a few times. This will “close” the square.
Make sure to retest the square and adjust accordingly.
Fine-Tune All Types of Squares
Triangle Square
For triangle squares, start with the same testing method, but to fine-tune these tools, you should use a
metal flat file. First determine which way the device is out of square, either acute or obtuse, and lightly
file one edge to the correct angle. Keep testing until you hit perfect square. If you go too far, you can
simply file it back the other way. I use a bench vise to hold the tool firmly in place while filing.
Combination Square
Combination squares are a bit trickier but can still be adjusted. These tools have a removable ruler that
fits into a channel slot. Inside and at the bottom of the slot are two guides, raised dimples of metal that
the ruler slides on. By sanding down one of these dimples, the angle of the ruler can be adjusted. I wrap
fine, 320-grit sandpaper around the ruler and sand one of these dimples down to adjust the angle one
way or another.
Geometry Square
Using geometry is great for laying out very accurate square lines too, but it requires your 10th grade
math textbook, a compass and ruler. But on small and large projects alike this method takes a lot more
time and effort.
Laser Squares
Laser squares and levels are very accurate and are now becoming less expensive and more accessible to
homeowners. They are foolproof and very easy to use. They can project square, level and plumb
(straight up and down) lines with a beam of light. When buying one, be sure that it has the function you
want. They are best for onsite construction projects like laying out walls and tile floors or hanging
cabinets and pictures. They can save a lot of time, but are not very helpful for everyday woodworking.
So before you start your next woodworking project, remember: It’s Hip to be Square.
Embed the article on your site